Search and Tag
Search and Tag

Tagging re-invented and fully integrated
into the Windows File Explorer

Tagging for Windows allows you to tag your files and folders within the Windows File Explorer. More general information or a free download is available at the website. Please contact us for anything: questions, bugs, request, comments, etc.
Search and Tag can be used to quickly find and tag existing files. It can find files based on text in different places. Once a file is found it can be previewed and linked to a chosen tag.
The main screen of Search and Tag contains different parts (I, II, III, IV, V, VI and VII ) which are described next.
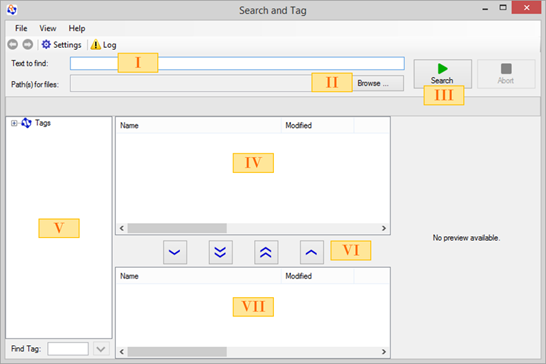
Text that’s used for searching files. Either the filename and/or the content of the file. (See Main screen)
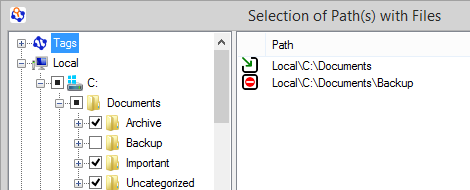
Path(s) determines which path(s) will be searched for files. A path can be a Tag Group, Tag, Smart View, disk drive, folder, network location or a user folder (i.e. Documents, Favorites, Movies, Pictures, etc.). A Tag path will search all linked files or folders linked with that tag. (See Main screen)
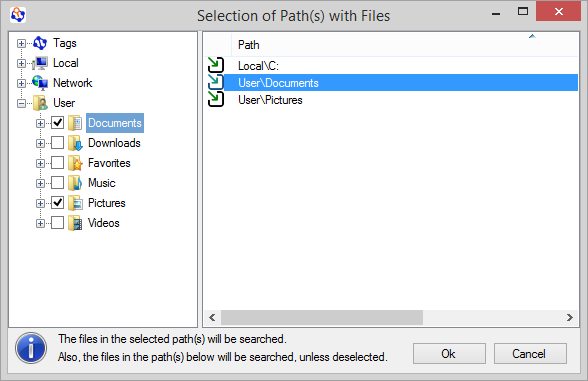
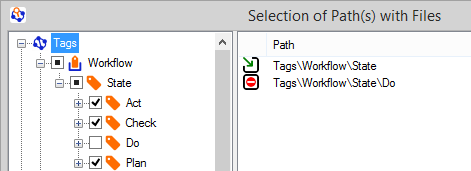
- Tags. Select the tag(s) to be included as a search path
- Local. Select a local disk(s) or folder(s) to be included as a search path.
- Network. Select the network location(s) to be included as a search path.
- User. Select the user folder(s) to be included as a search path.
When a Tag Group or Tag is selected all child Tags will be searched as well. A child Tag can be excluded as path by deselecting a particular child Tag.
When a disk drive, folder, network location or user folder is selected all child folders will be searched as well. A child folder can be excluded as path by deselecting a particular child folder.
When the start button is pressed, the given paths are searched for the entered search text. (See Main screen). The progress bar gives the following information:
o The number of found folders.
- Files
o The number of found files.
- Matching extensions
o The number of files matched on extensions.
- Processed
o Number of files processed.
- Found
o The number of files found given the search criteria.
- Time
o Elapsed time.
Files found matching the search criteria. (See Main screen)
Select the Tag for tagging found files. (See Main screen)
See the Tagging for Windows Help about the Tag Groups and Tags.
o One or more found files will be tagged to the current selected Tag. A link between then is created.
- Untag selected
o The links between one or more selected files and the current selected Tag, will be removed.
- Tag all
o All found files will be tagged with the current selected Tag. A link between them is created.
- Untag all
o The links between all linked files with current selected Tag will be removed.
(See Main screen)
Files linked with current selected Tag. (See Main screen)
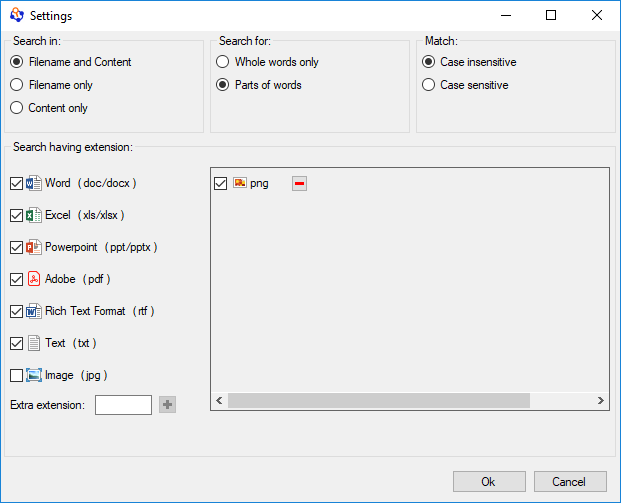
Search in determines how the search text is handle while searching through files. The three options are:
- Filename and Content. The search text is matched with the name of the file and the content of a file. The content of a file is only searched if the Filename does not match.
- Filename only. The search text is only matched with the filename of a file.
- Content only. The search text is only matched with the content of a file.
Search for determines how the search text is searched for. The two options are:
- Whole words only. Each word in the search text has to match a whole word in a searched file.
- Parts of words. Each word in the search text has to match partially with a word in a searched file.
Match determines how the search text is matched. The two options are:
- Case insensitive. Each word in the search text is matched regardless of the casing of a word in a searched file.
- Case sensitive. Each word in the search text is matched taking into account the casing of a word in a searched file.
Search having extension. Determines based upon the file extension which files will be searched. Default it is possible to include or exclude (by means of a checkbox) the following file types. Office documents (Word-, Excel-, PowerPoint files), PDF files, RTF files, Text files and Image files. With Extra extension is possible to add an extra file extension. Files with this extra extension can be included or excluded in the search. It is also possible to remove the extension as a whole by pressing the red minus button.
The Log window shows all files that had an error while being searched.
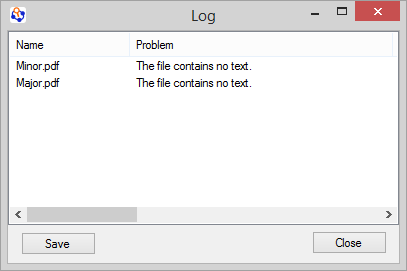
The name of the searched file.
The found problem of the searched file.
- The file content cannot be read
- The system has no software for searching this (kind of) file
- The installed software reports the file is too large
- The file cannot be accessed
- The file could not be processed. It has been retried multiple times
- The file has an unknown format
- The file cannot be accessed
- The file has an unknown format
- The file failed to be read
- COM error
The last modified date of the searched file.
The file size of the searched file.
The location of the searched file.
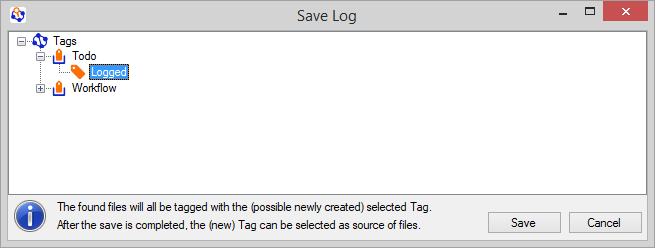
By pressing the save button the files with an error can be tagged to a selected Tag.
Open the Help menu and choose License and in the sub-menu select License activation.
The Activate License dialog is opened and the activation key can be entered here.
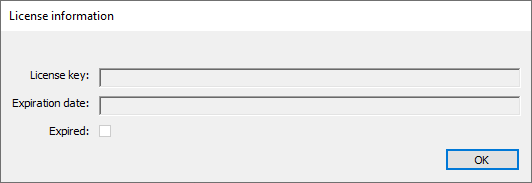
Open the Help menu and choose License and in the sub-menu select License information. The License information dialog is opened and shows the License key, Expiration date and whether the license is Expired.